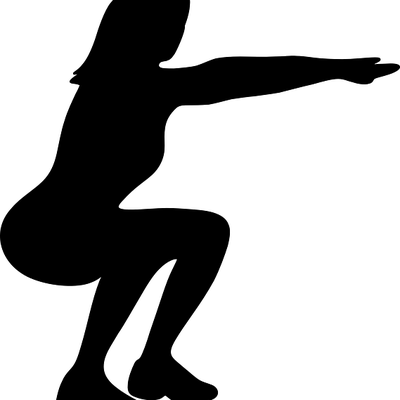
 If you want a full body workout, think about adding squats to your regular routine. Squats activate muscles in the legs, arms, back, shoulders and butt to sculpt your frame from head to toe. However, unless you have a good gym membership, you’ll need to invest in a sturdy squat rack for home to make this exercise a possibility. Read on for more information.
Features
You should look for a squat rack that accommodates a number of heights and builds by offering several racking positions. The racks should be spaced wide enough apart to make it a breeze to lift and return your weights. Search for a rack that features a round tube frame for the greatest durability.
The safety frame should sit just above your lowest squat height to catch the weights if you need to dump them in an emergency. Most squat racks have the side frames built to three feet just for this purpose. To conserve space, look for a squat rack that will hold all of your weights on side mounted horns.
Accessories
Although it’s more commonly used for deadlifts, you can invest in a sturdy pad to keep your squat rack from damaging your floor. The pad will also help your feet grip the ground as you squat down under weight.
You can get the most out of your squat rack by adding attachments that allow you to do different workouts. Some common attachments include a pull up apparatus, dip rig and step. You can vary your workouts by using these accessories instead of focusing on squats alone.
However, be aware that just doing squats will tone your entire body, and even help speed up weight loss efforts, without any other exercises worked in. Adding more movements simply alleviates boredom associated with doing the same workout every day.
Setup
Identify a low-traffic area inside your home for your squat rack. When getting under heavy weight, you do not want people brushing by and interrupting your concentration.
Make sure you can position the rack a few inches from the wall to keep it from scratching or denting your drywall. The squat rack itself needs very little set up as it usually ships in one piece. To finish the set up, you will need to arrange your weights on the horns and place your bar on the rack of choice.
Starting Out
Your starting rack should be completely level with your shoulders. You’ll need to be able to easily rack the bar in between each set to give your body a chance to rest and recuperate. Make sure the safety mechanism sits at the right position to support the bar if you cannot return to starting position and need to roll out. Start with doing squats just with the bar alone before adding weight to each side. Remember to always add a balanced amount of weight to the bar to avoid straining your muscles on either side of your body.


